How To: Host a Website for Free
Creating and hosting a website for free is an accessible and straightforward process that can be accomplished using a variety of tools and platforms available online. This guide will walk you through the steps necessary to set up and personalize your own website using Visual Studio Code (VS Code), GitHub, and additional resources. By following these steps, you will have a fully functional website hosted for free, showcasing your content and skills.
Step-by-Step Guide to Hosting a Website for Free
Step 1: Download and Set Up VS Code
- Download Visual Studio Code (VS Code) from here.
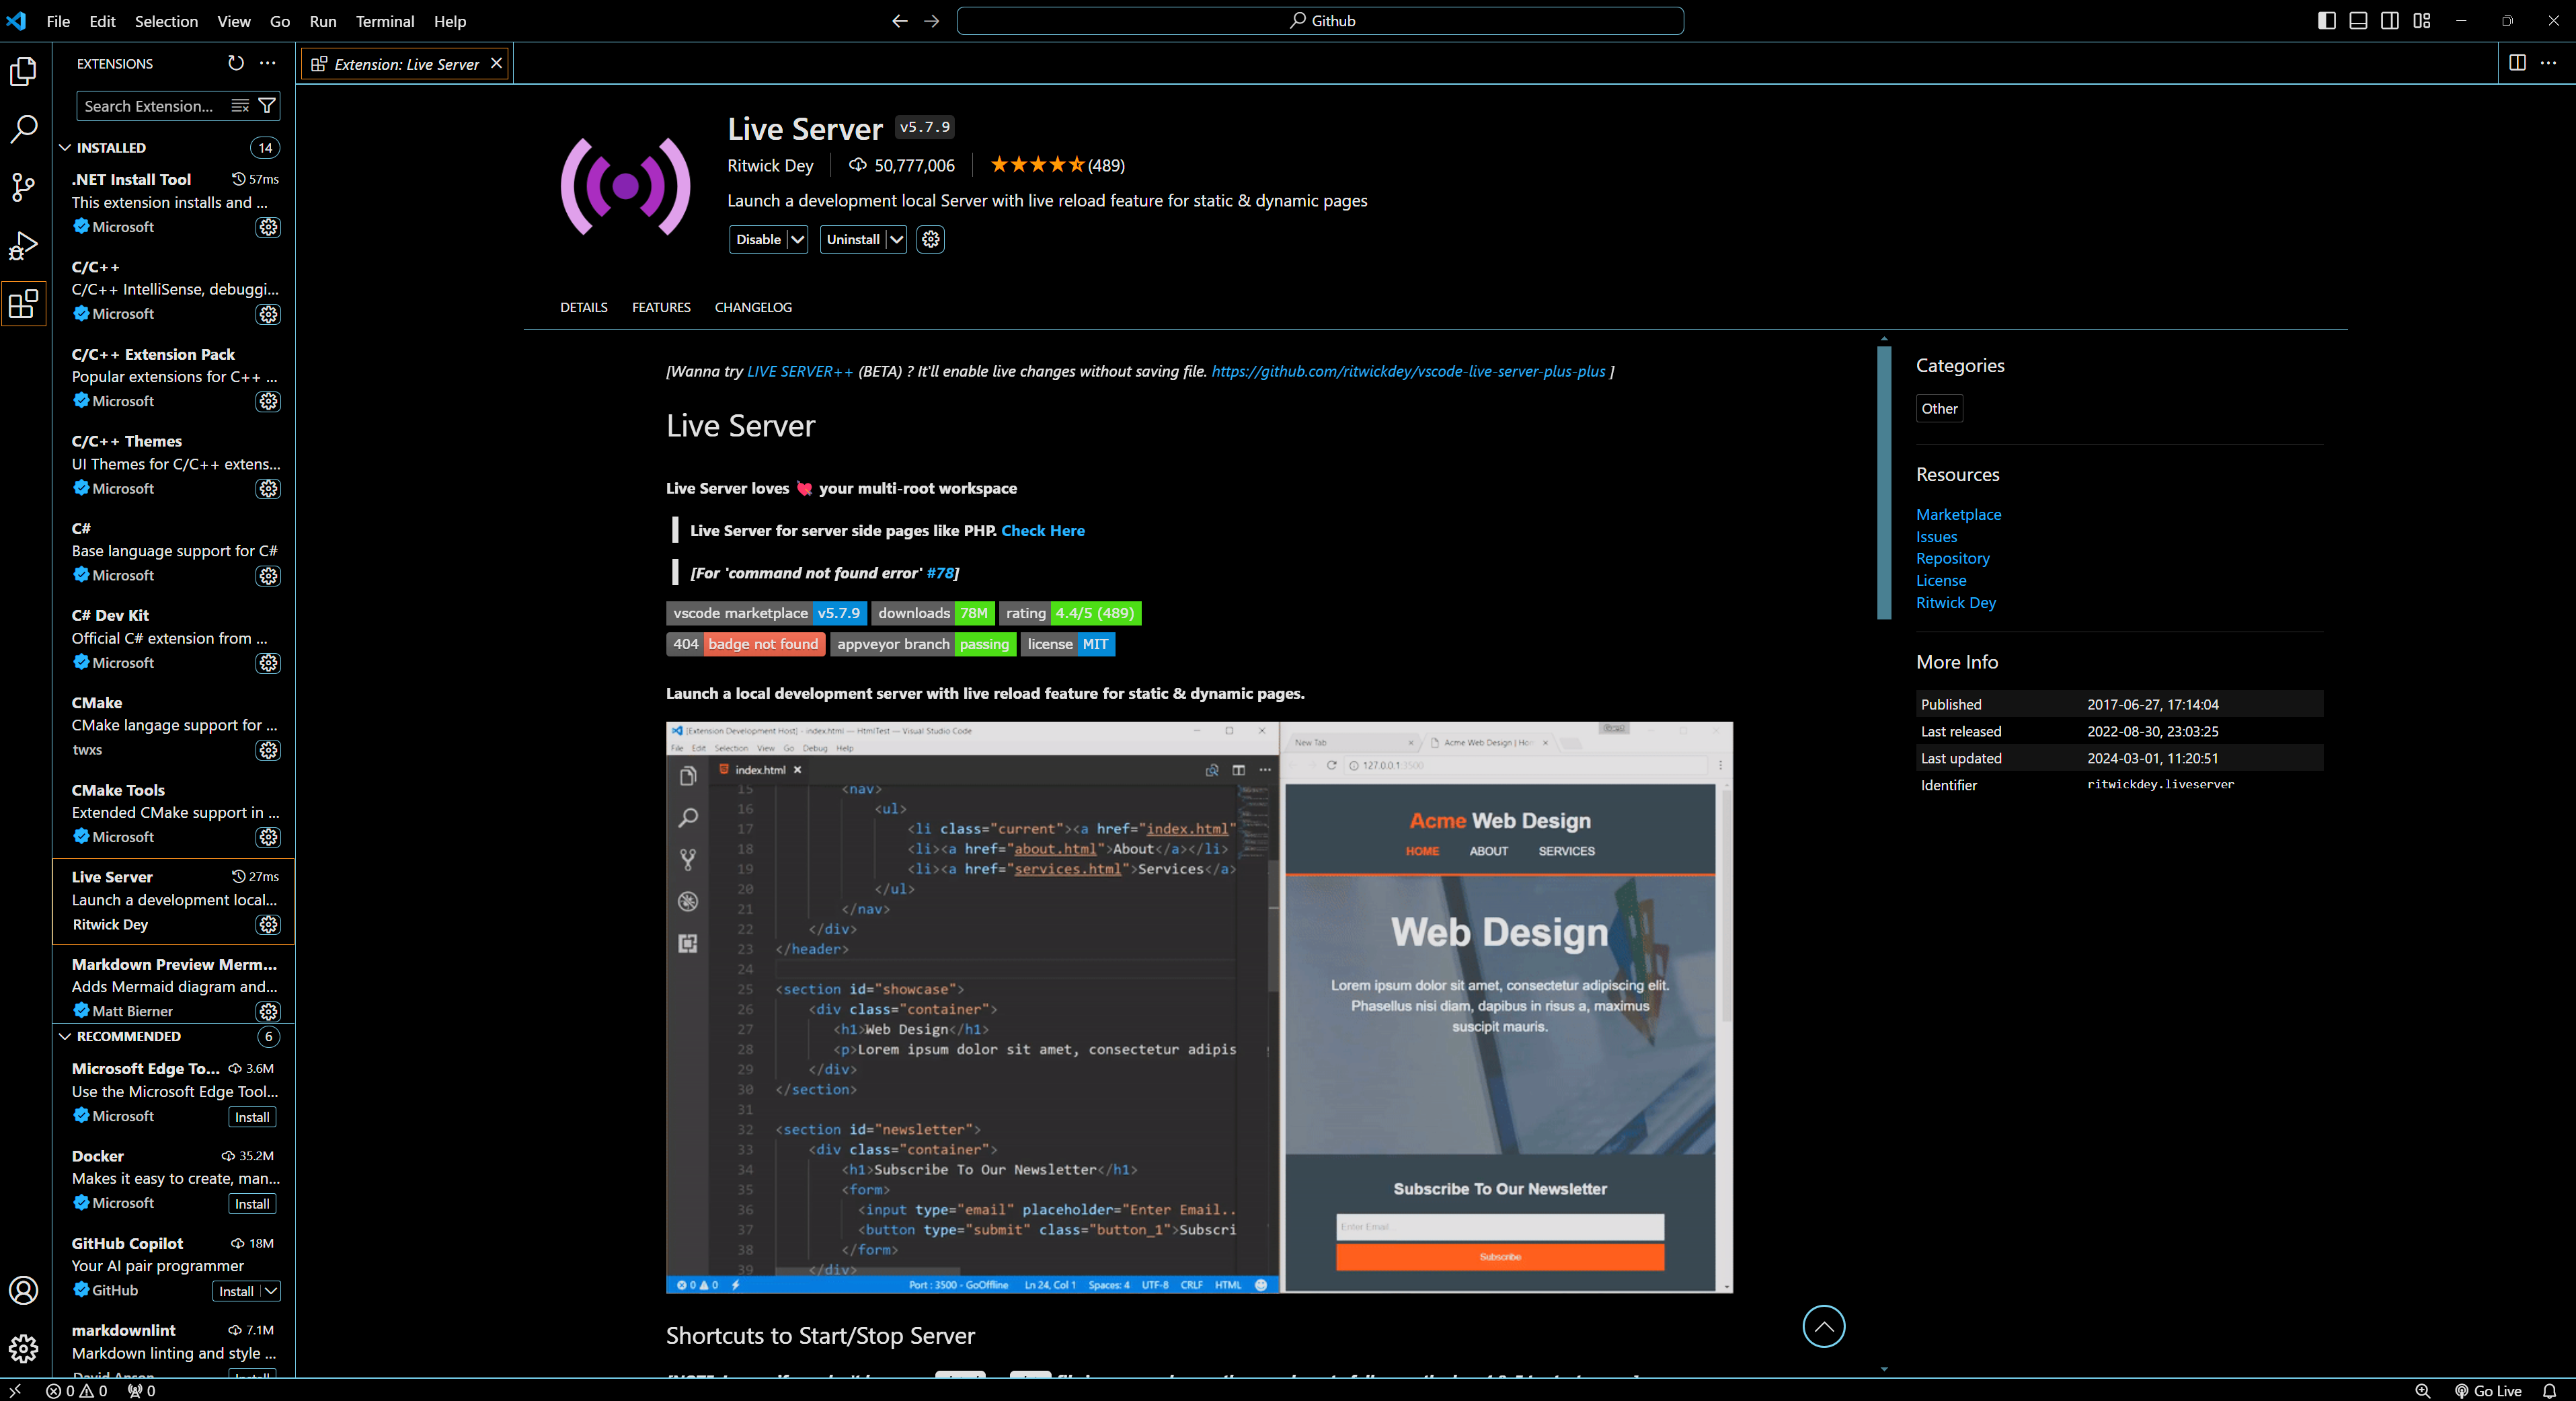
- Install VS Code and the "Live Server" extension.
- Create a folder on your computer to store all your website files.
- Open the folder in VS Code.
- When prompted to trust the author, click "Yes."
- Create two files within this folder:
index.html(for the actual webpage content)style.css(for formatting such as fonts and colors)

Step 2: Set Up a GitHub Repository
- Head over to GitHub and create an account.
- Create a new repository:
- Click the "+" icon in the upper-right corner and select "New repository."
- Use the "Owner" dropdown menu to select the account for the repository.
- Name your repository and provide an optional description. For user or organization sites, the repository must be named
<username>.github.io. - Choose a repository visibility. For more information, see "About repositories."
- Select "Initialize this repository with a README."
- Click "Create repository."


Step 3: Utilize Templates from W3Schools (Optional)
- Visit W3Schools.
- Find a website template you like under the "How To" tab and save it for later.
- You can explore various elements like tables, flip cards, blog posts, contact forms, etc.
- A basic website template can be found here.

Step 4: Generate Code Using AI
- Use an AI platform like ChatGPT to help generate website code.
- For a template from W3Schools: Use a prompt like "Fill in this website template to create a cybersecurity website to showcase recent write-ups and skills."
- If starting from scratch: Describe your preferences such as "create a website with a header image, navigation bar, profile picture, about me section, blog portion, skills box, and footer for LinkedIn and GitHub links." You can tell it to make anything you want, so maybe go see websites you’ve liked and take inspiration from them!
- Copy the generated code once it's ready.


Step 5: Test the Code
- Paste the code into the
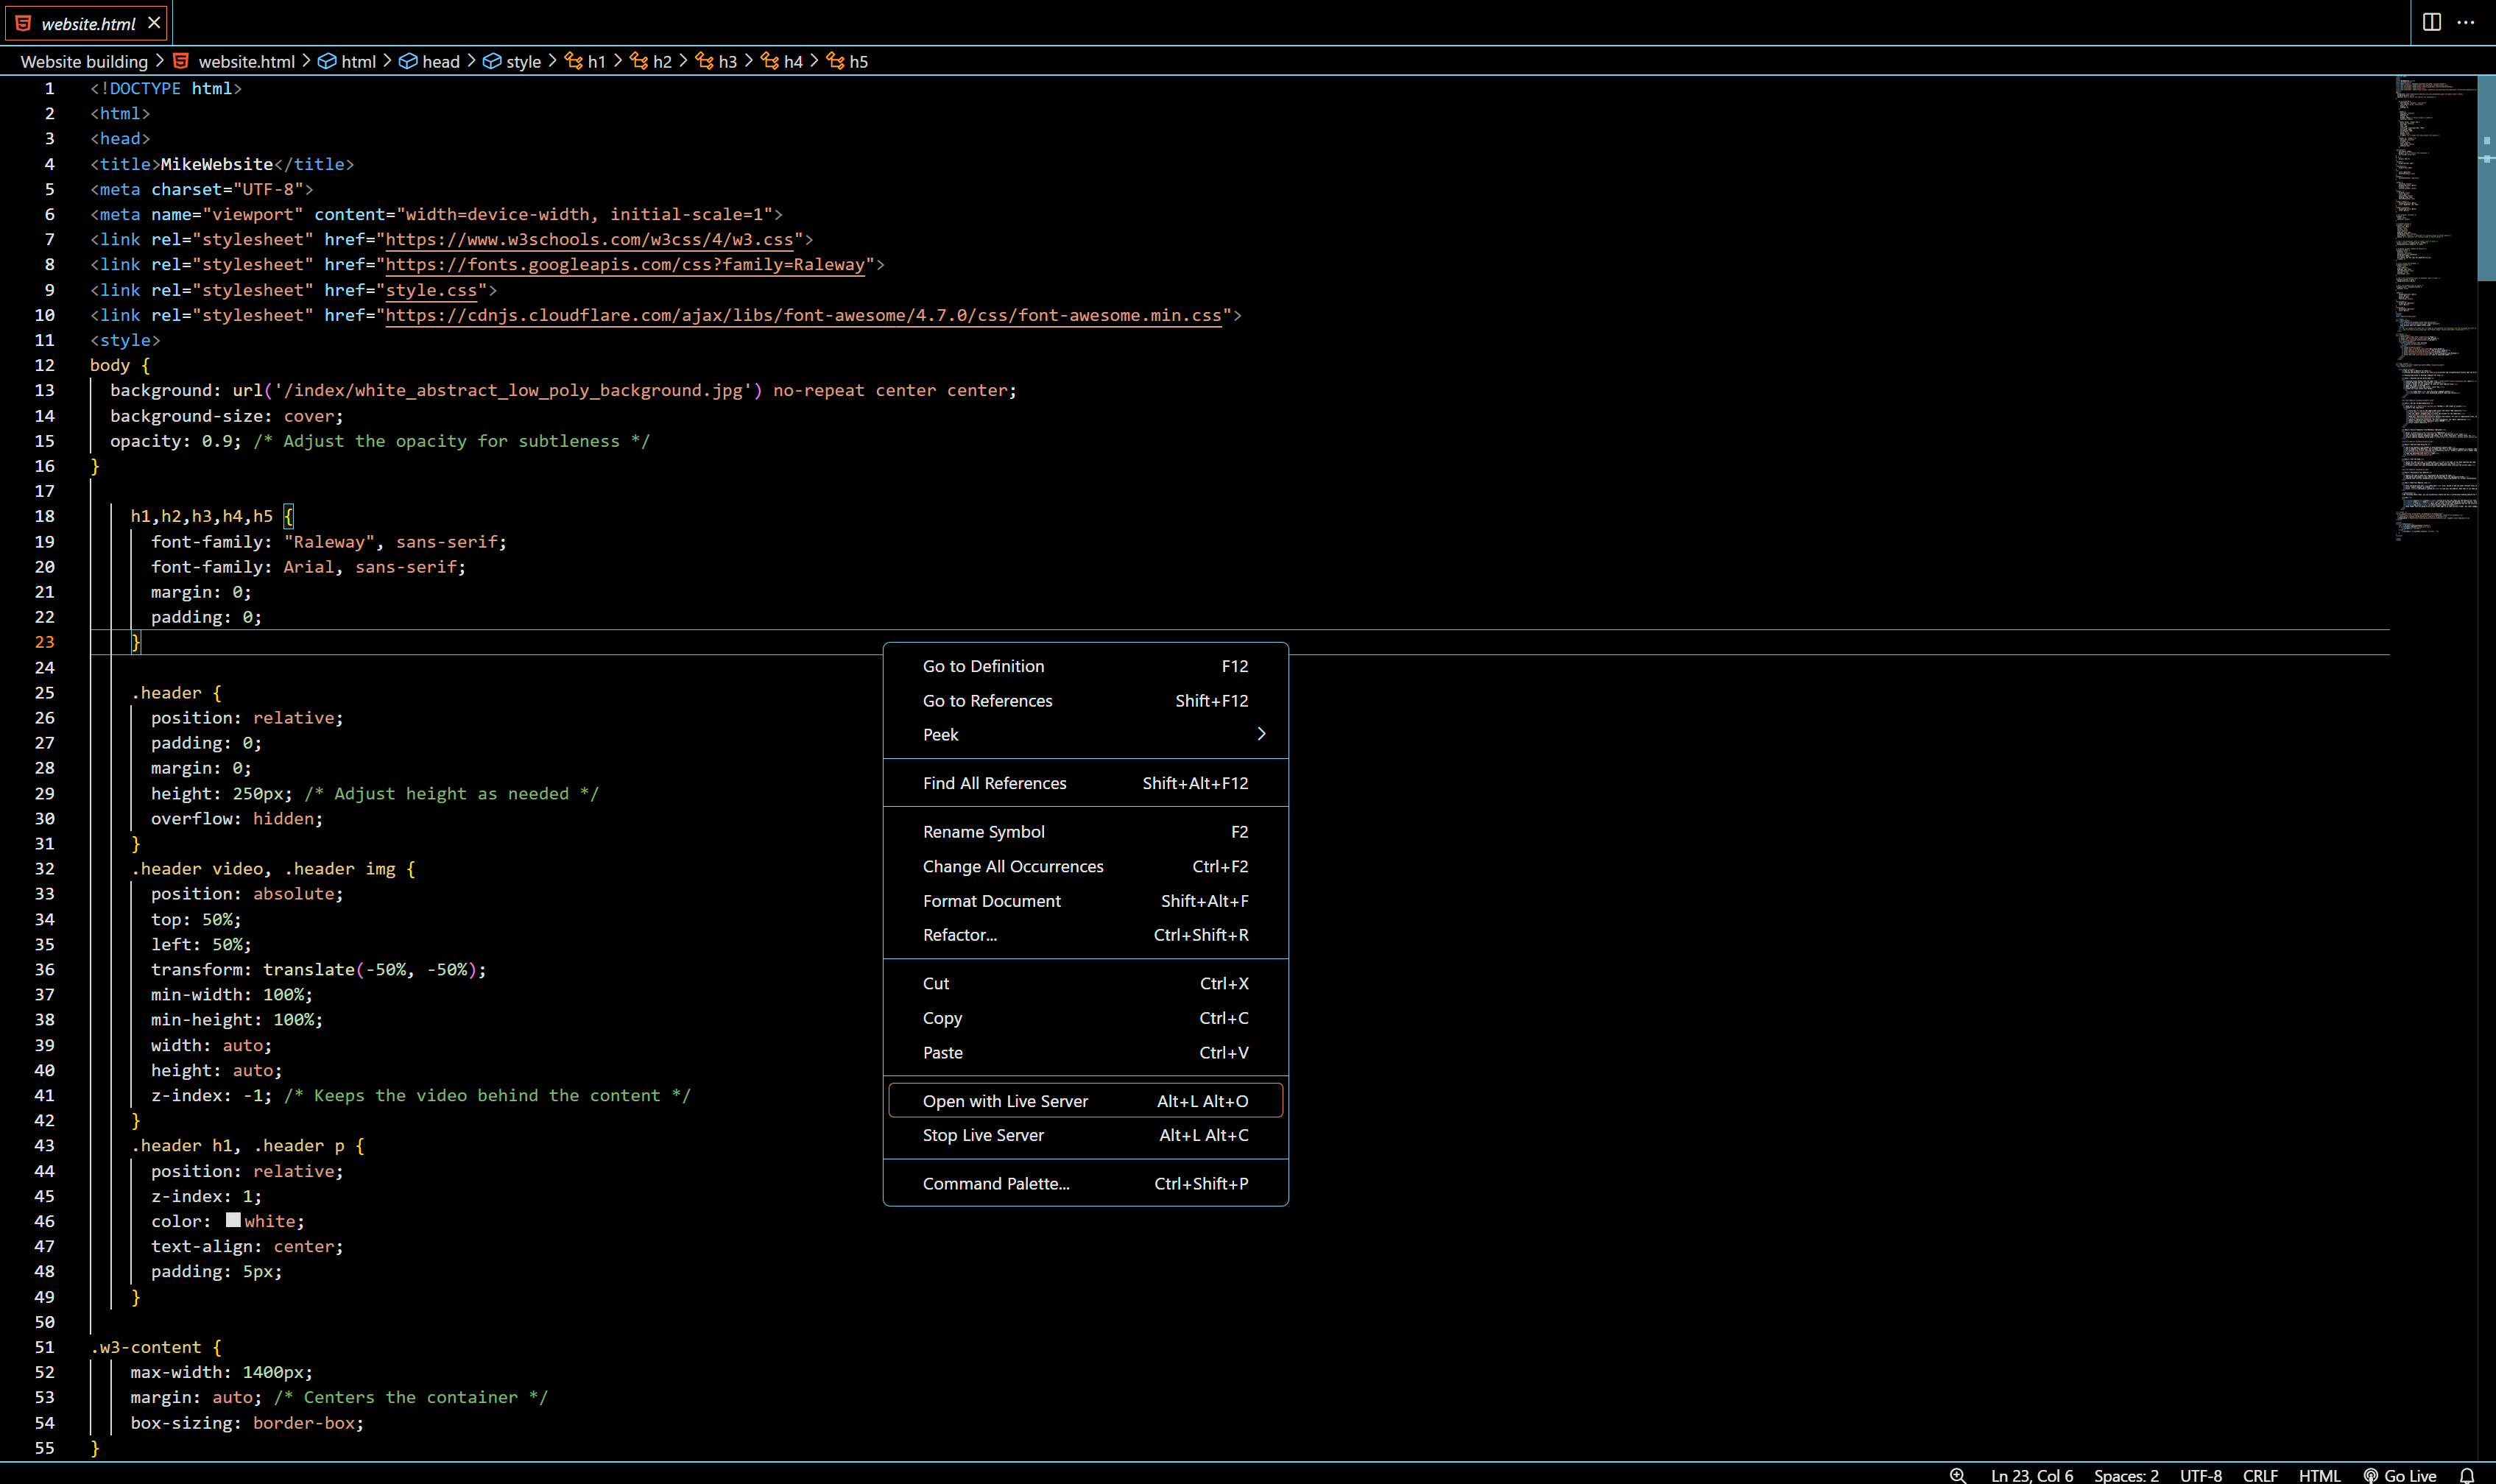
index.htmlfile in VS Code. If you have separate CSS code, ensure it is in thestyle.cssfile. - Right-click in the VS Code editor and select "Open with Live Server."
- A browser window will open displaying what your website looks like with the current code.

Step 6: Personalize Your Website
- Adjust the code to meet your requirements by editing the code.
- Add photos and images to your website by placing them in the appropriate folder.
- Combine code from your bookmarks with your current code using ChatGPT for further customization. For example, you can prompt ChatGPT with "Using this code: <navigation bar code> add it to my website to create a navigation bar."
Step 7: Make Your Website Live
- Once satisfied with your
index.htmlfile, upload it and any other relevant files to your GitHub repository. - Click "Commit changes" on GitHub.
- Visit
<username>.github.ioto view your new website. Note that it can take up to 10 minutes for changes to publish.
Conclusion
By following these steps, you can successfully create and host a professional-looking website for free. Utilizing tools like VS Code, GitHub, and AI platforms simplifies the process, allowing you to focus on customizing and showcasing your content. Enjoy your new website and the opportunities it brings to share your skills and knowledge with the world.
Tips:
<style></style>: section will tell you about how the website will look, including font colors and borders<body></body>: will contain the meat and potatoes of your website, such as pictures and writing<a href=>: is where you put links if you want something that you can click on, such as writing or picture to bring you to another website or webpage<img src=>: is where you will image file paths- Keep images that are going to be on your index page in an index picture folder. Any other webpages you make, create new image folders for them to keep things organized and file paths easier to call.